Google Gadget For Linux

refer here http://code.google.com/p/google-gadgets-for-linux/wiki/HowToBuild

I manage to make it work on CentOS 5.2

first time compile it complete smoothly .. but.

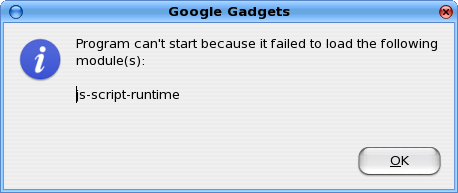
first time run it said cannot load ..

error-ggl-gadget.png

then do

yum install xulrunner-devel xulrunner-devel-unstable

re-compile..

and again try run

ggl-gtk

did’nt work.. then try.

ggl-gtk –help

then try

ggl-gtk -ns

then take a peek at /usr/local/share/google-gadgets

ggl-gtk analog-clock

… and it ask for permission to allow this to access network and bla..bla.. click yes..

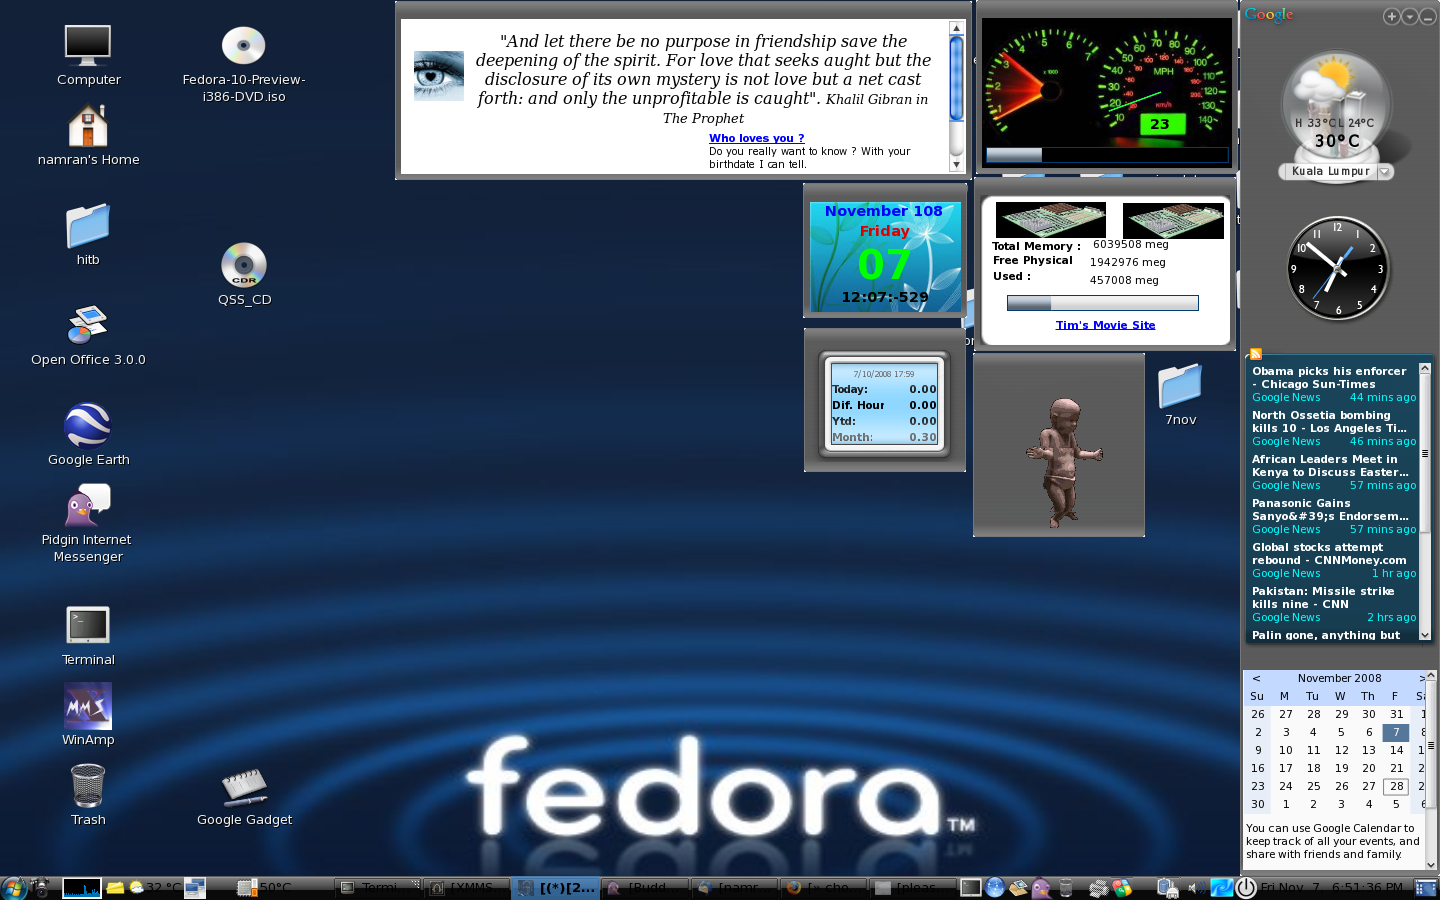
and yes.. it popup nicely.. at the sidebar..

google-gadget-onlinux.png

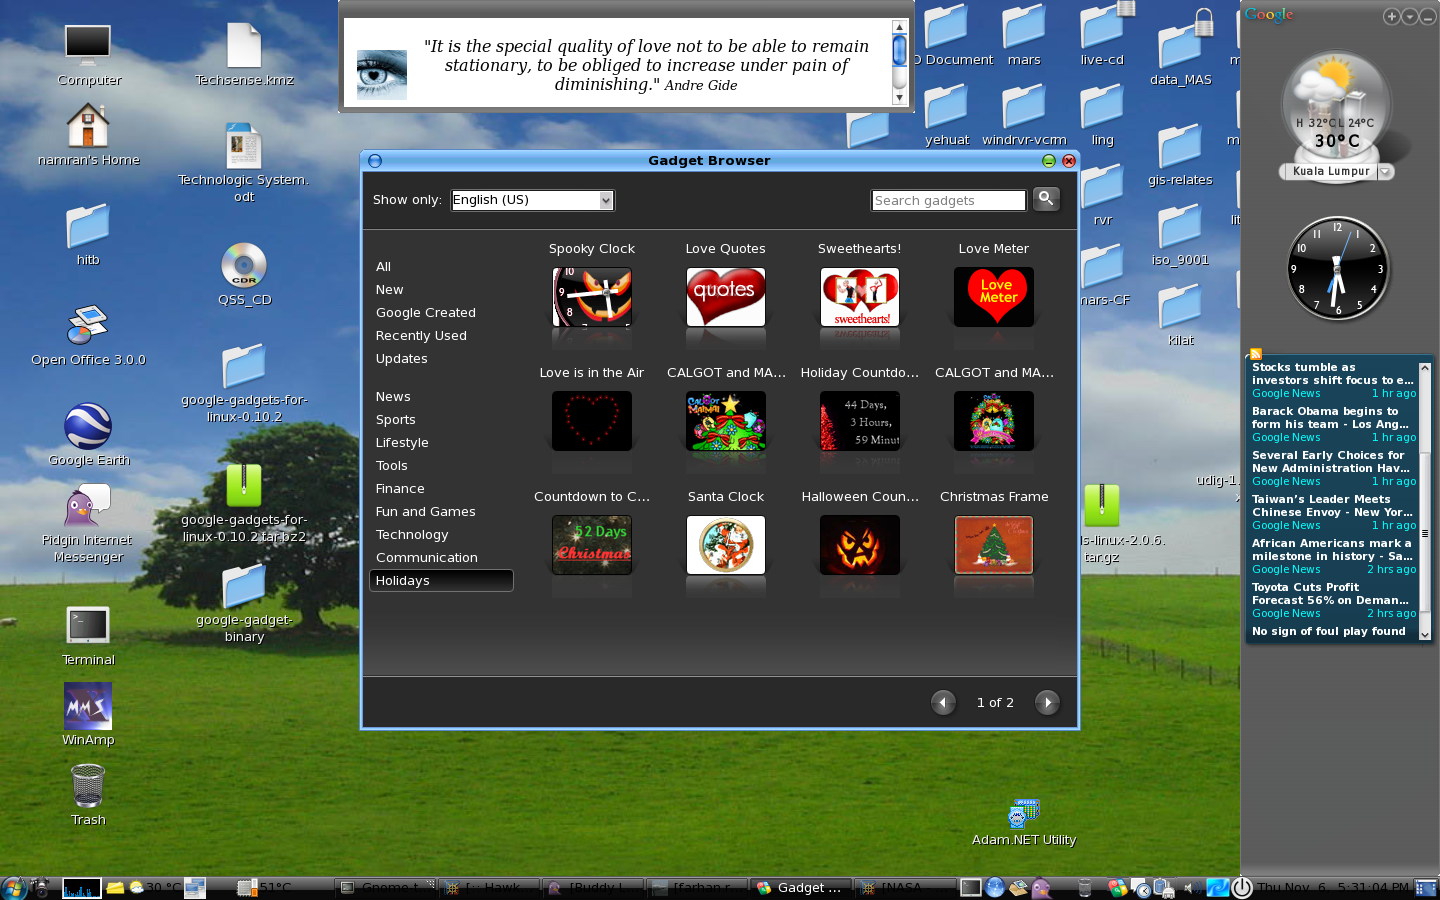
another screenshot..

desktop-nbnamran-7nov.png

Related Post

2 Responses

  1. HawkEYE says:

    the step to remove old plesk before can start install a new
    but it is preferable to have a complete system restore..
    *** somehow . to wait for sys-admin to do thing to you.. ah.. a lil’ bit fu*ked thing.. why not ***..

    as root..
    1. yum remove psa-*
    2. yum remove httpd
    3. rm -rf /var/httpd -R
    4. rm -rf /usr/local/psa -R
    5. rm -rf /var/www/vhosts -R
    6. service mysqld stop
    7. If don’t know the root pass for myql .try this as root :
    mysqld_safe –skip-grant-table

    6. mysql -uroot
    i. drop database psa
    ii. drop database phpmyadmin_14813SHFF <-- some serial here can see using show databases; iii. drop database horde; iv. drop database sitebuilder; v. and any other thing .. except test and mysql; vi. may have to reset pass for root to blank ... if u want to delete other user than root in mysql use mysql; delete * from user where User!='root'; update user set Password=PASSWORD('') where User='root'; may be need to add the admin user with pass setup. and with all priv here. insert into user (Host,User,Password) values ('localhost',admin,PASSWORD('something-default-here')); then have to grant.. all the privilege. to the admin then remove mysqld. yum remove mysql. ***.. after that may proceed with re-installation process. note i did'nt remove any other user created before.. such as qmail.. bla..bla.. because we are going to re-install .. then.. ./psa_installer_v3.1.2_build070321.17_os_CentOS_4_i386 answer all question.. wait.. till finished.. hopefully no problem.. may be need to flush the firewall services iptables restart.. then can access to https://server.name.com:8443/

    you should see the login screen..
    wahaha..

    Reply
  2. HawkEYE says:

    the step to remove old plesk before can start install a new
    but it is preferable to have a complete system restore..
    *** somehow . to wait for sys-admin to do thing to you.. ah.. a lil’ bit fu*ked thing.. why not ***..

    as root..
    1. yum remove psa-*
    2. yum remove httpd
    3. rm -rf /var/httpd -R
    4. rm -rf /usr/local/psa -R
    5. rm -rf /var/www/vhosts -R
    6. service mysqld stop
    7. If don’t know the root pass for myql .try this as root :
    mysqld_safe –skip-grant-table

    6. mysql -uroot
    i. drop database psa
    ii. drop database phpmyadmin_14813SHFF <-- some serial here can see using show databases; iii. drop database horde; iv. drop database sitebuilder; v. and any other thing .. except test and mysql; vi. may have to reset pass for root to blank ... if u want to delete other user than root in mysql use mysql; delete * from user where User!='root'; update user set Password=PASSWORD('') where User='root'; may be need to add the admin user with pass setup. and with all priv here. insert into user (Host,User,Password) values ('localhost',admin,PASSWORD('something-default-here')); then have to grant.. all the privilege. to the admin then remove mysqld. yum remove mysql. ***.. after that may proceed with re-installation process. note i did'nt remove any other user created before.. such as qmail.. bla..bla.. because we are going to re-install .. then.. ./psa_installer_v3.1.2_build070321.17_os_CentOS_4_i386 answer all question.. wait.. till finished.. hopefully no problem.. may be need to flush the firewall services iptables restart.. then can access to https://server.name.com:8443/

    you should see the login screen..
    wahaha..

    Reply

Leave a Reply

Your email address will not be published. Required fields are marked *